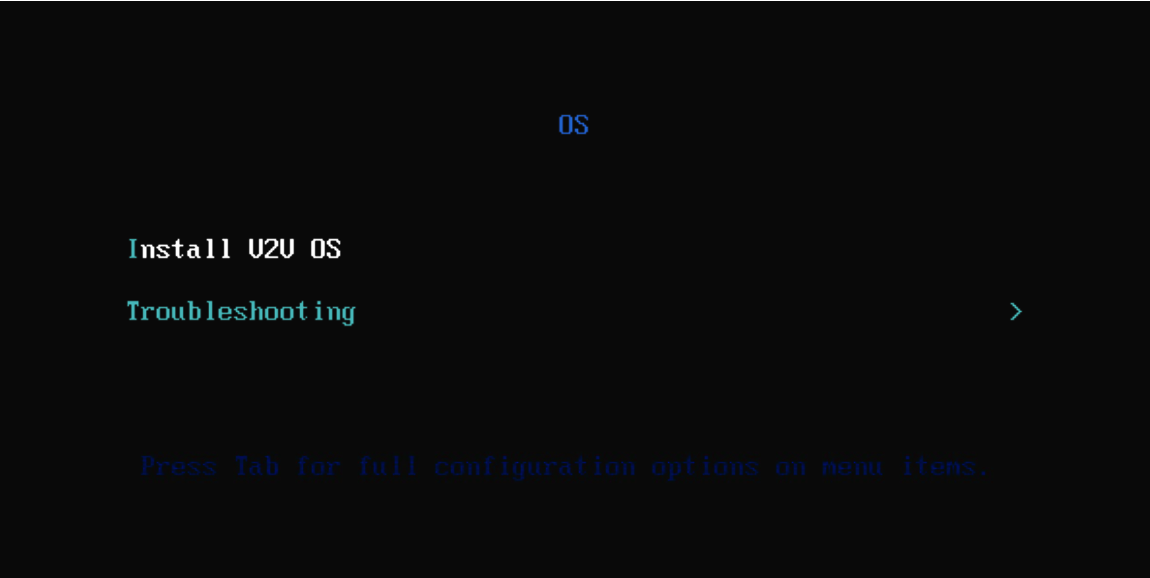
After creating the virtual machine, open the virtual machine console, select Install V2V OS, and then press Enter.
Enter the corresponding installation disk according to the following disk bus type, and then press Enter.
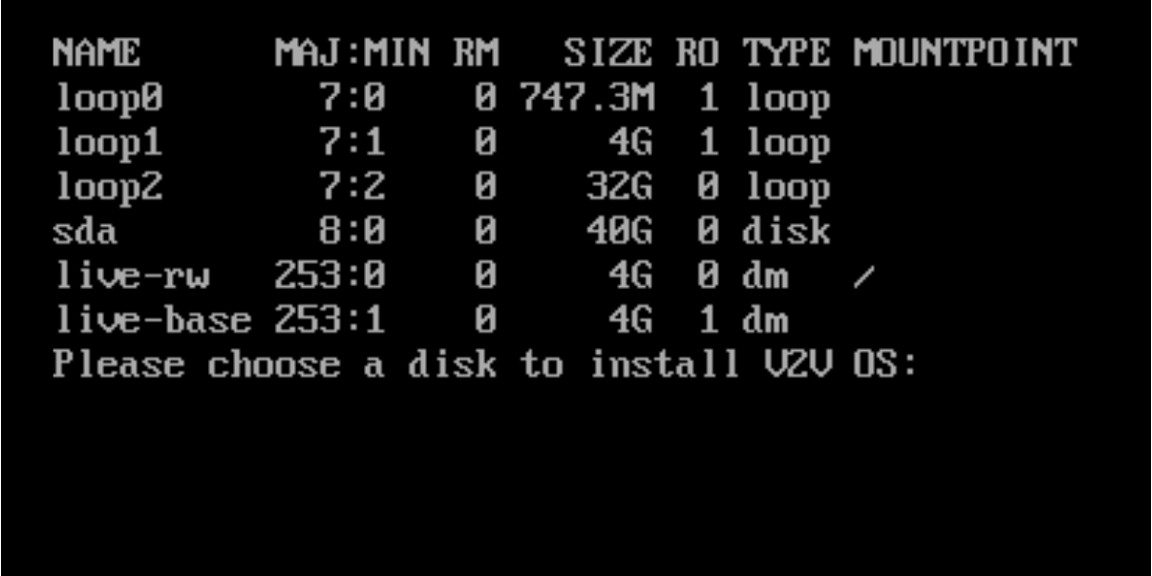
If you do not enter the installation disk within 10 seconds, the installer will automatically select a disk for installation, which is the first disk listed after running the lsblk | grep disk command.
After the automatic installation is complete, log in to the operating system of Arcfra Migration Tool with the default account root.
After logging in, configure the IP and gateway addresses of each NIC so that the Arcfra Migration Tool virtual machine can connect to the management networks of the source and destination clusters. If you do not manually configure the NIC at this step, the system by default will use DHCP to obtain the network configuration.
Note:
- If the ESXi host is added to the VMware vSphere cluster using the domain name, you also need to configure the DNS server in this step and ensure that it can correctly parse the relevant domain addresses. This can also be performed after Arcfra Migration Tool is deployed. For details, refer to the Checking the DNS server section.
- To accelerate data migration, you can configure a NIC at this step to connect to the storage network of the Arcfra Cloud Operating System cluster using Arcfra Virtualization Engine, that is, ACOS (AVE) cluster. If the Arcfra Migration Tool virtual machine is deployed on the AVE platform, ensure to first add a storage NIC (the VLAN ID of the storage network must be 0), then configure the IP and gateway for each NIC. This step can ensure that Arcfra Migration Tool is connected to the management networks of both the source and destination clusters, as well as to the storage network of the ACOS (AVE) cluster to accelerate migration.
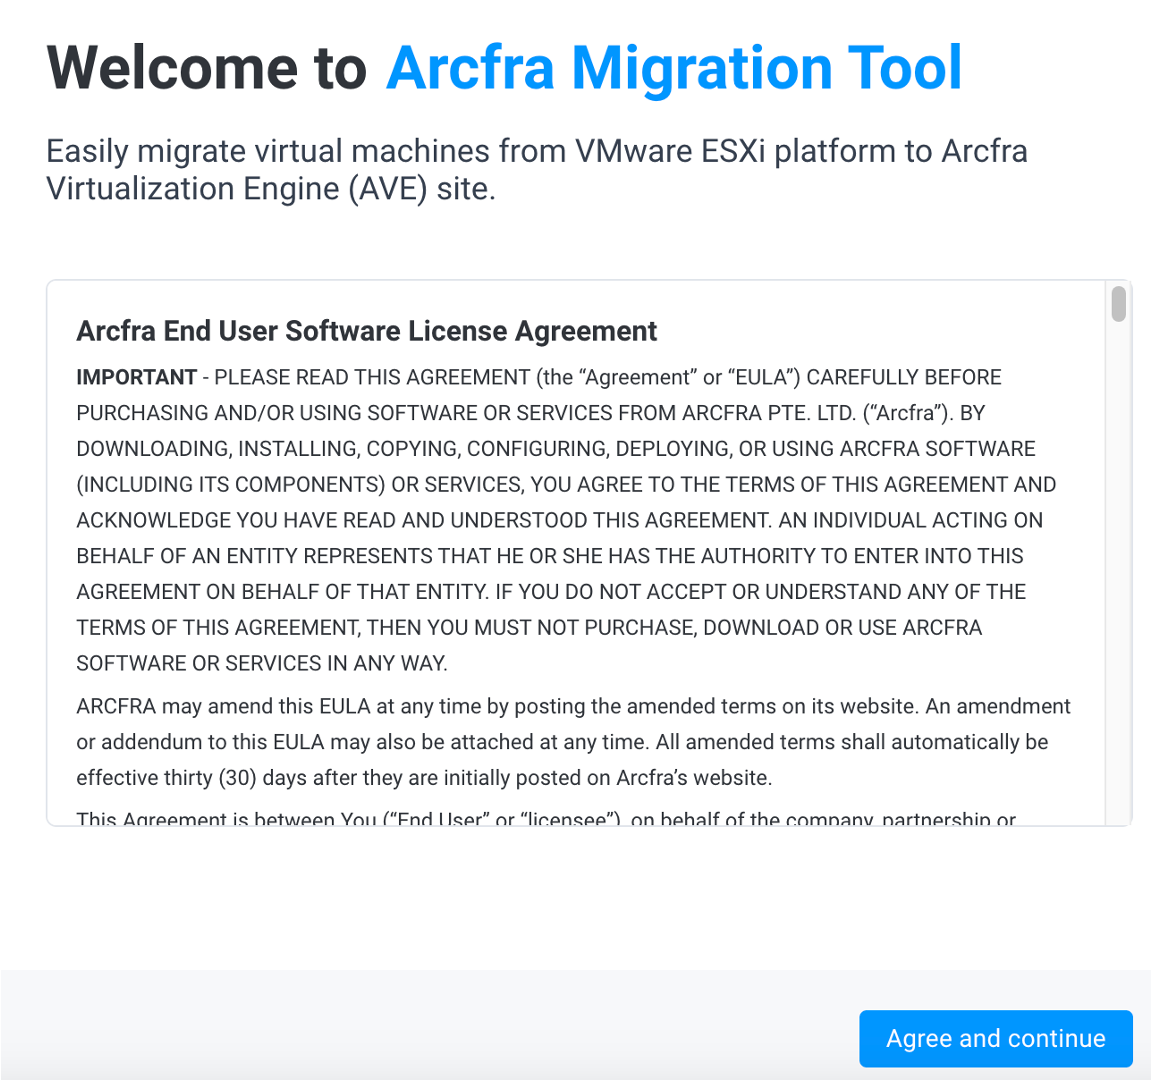
Once the network configuration is complete, use a browser to access the IP address of the Arcfra Migration Tool virtual machine. If you see the following welcome page, the deployment is successful. Then click Agree and continue.
After deployment, on the Create account page, enter your username and password. Click Create and login to log in to Arcfra Migration Tool.
If you forget the username or password created here in subsequent operations, refer to the Resetting the Arcfra Migration Tool account section forget details.