Search Docs...
⌘ K
Log in to vCenter Server using the VMware vSphere Web Client and browse the ESXi host.
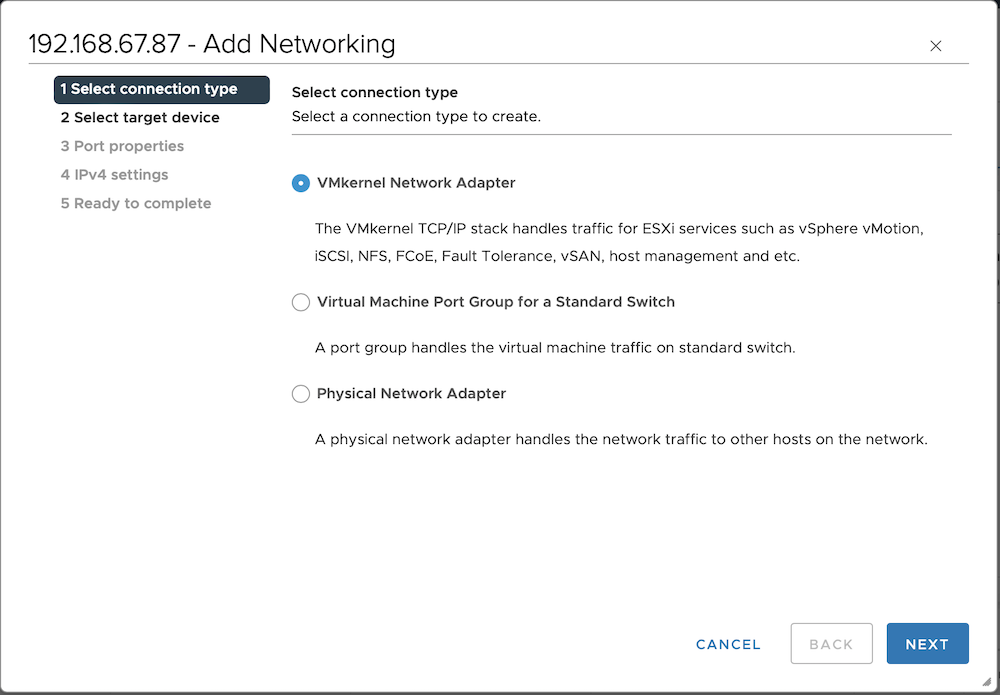
Select an ESXi host and choose Configure > Networking > Virtual switches > ADD NETWORKING. In the pop-up Add Networking dialog box, select VMkernel Network Adapter and click NEXT.
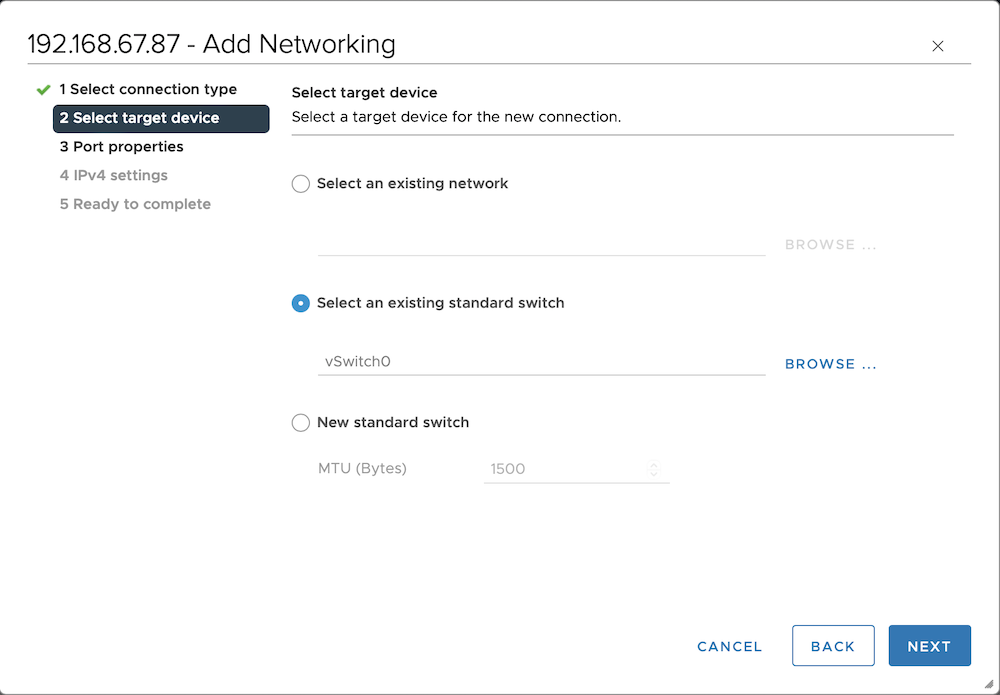
Select the target device based on the network deployment mode for the management network and the storage network.
If you are using the One virtual switch for one system network mode, select New standard switch and click NEXT to assign the appropriate physical network adapter to the newly created switch.
Note:
To enable RDMA for the cluster, here you should select the specified network port recorded on the RDMA NIC.
If you are using the One virtual switch for multiple system networks mode, there is no need to create a new standard switch. Select Select an existing standard switch, select the management network virtual switch vSwicth0, and then click NEXT.
Set the port properties. Set Network label to ZBS-vmk and use the default values for the rest of the settings. Then, click NEXT.
Set the IPv4 parameters. Select Use static IPv4 settings, then enter the planned ESXi storage IP address in the IPv4 address field and set the Subnet mask to 255.255.255.0.
Follow the prompts to proceed to the next step until the configuration is complete.
Next steps
If you have assigned two physical network adapters to the standard switch for the storage network, you need to modify the standard switch teaming and failover policies. Otherwise, proceed to add a virtual machine port group for the storage network to enable connectivity for the virtual machines.